So you’re getting a New Roland Printer
Roland requires a certified tech do the install of your new printer. This is because your tech will ink up the new machine, install software, set it up with service settings to make your operation easier, and be able to correct any minor issues and adjustments. In these posts, I will outline what you need ready at your location and why. The more smoothly this process goes on the day of the install the more time your technician will have for training and the more complete your training will be.
[This post does not include the BN20 – Roland considers these machines “user-install” – so make sure you follow all instructions. IMPORTANT: Install all software before plugging that machine into your computer.]
Machine Delivery: Typically your machine will arrive in our van still in its crate. We make sure the machine is undamaged and have the stand prebuilt.
Getting off the Truck and on the Stand: When we deliver with a van we need 4 people to slide the crate out of the van. Each person should be able to handle about 150 lbs [see chart below.] It is possible to do this with a fork truck with long forks – or a forktruck with short forks using two people to support the other side. The technician can be one of the 4. The crate will be lowered right behind the van and unpacked.
Drop Shipping: If your machine arrives “drop shipped” you will be responsible to be able to unload it from the common carrier trailer. We use a forklift with 6′ forks to unload the machine and move it around – so be prepared to have the equipment and/or a standard height loading dock. If the machine is dropped shipped – the receiver [you] is responsible to inspect – so take the cover off the crate and make sure no damage was done during transit. If there is any damage – make sure it is noted on the shipping slip and call our office to report it. Our technician will build the stand – so replace the cover and keep the crate safe until the tech arrives. Machines with Take-Up units will have a few more boxes – check the shipping label to confirm they all have arrived.
Assembling the Printer: After unpacking, the printer will be lifted up onto the stand. This requires the same 4 people. Listen to the technicians direction on where the machine can be lifted and what issues to watch out for. Again, following a technician’s lead a good forktruck operator can slide the forks under the machine with a person on either side to steady the machine. The technician will connect the machine to the stand with 8 machine bolts. Now the machine is ready to move into place.
Getting the Machine in Place: These machines are more bulky and heavy than most customers think. Look at the equipment sizes and weights below [if your machine is not listed – check rolanddga.com for specifications]:
| Specifications (with stand) | VG2-640 | 116″ [W] × 28.8″ [D] × 51.6″ [H] | 452 lb | 598 lb w/crate |
| VG2-540 | 105.8″ [W] × 28.8″ [D] × 51.6″ [H] | 421 lb | 545 lb w/crate | |
| SG2-640 | 116″ [W] × 28.8″ [D] × 51.6″ [H] | 434 lb | 580 lb w/crate | |
| SG2-540 | 105.8″ [W] × 28.8″ [D] × 51.6″ [H] | 397 lb | 521 lb w/crate | |
| SG2-300 | 81.5″ [W] × 28.8″ [D] × 51.6″ [H] | 324 lb | 414 lb w/crate |
If your location is tight – and long before the van arrives – we suggest you cut a piece of cardboard or coreplast to the [W]x[D] of your machine and carry it layed flat through the path the machine must take. Bear in mind the weight of the machine if it must be navigated up or down stairs. If this path might have issues – make sure you call and discuss this with the technician installing your printer.
Once in place – the machine needs to be prepped for inking up.
Location: Your machine will need a plug for the printer and a separate plug for the take-up unit if included. We suggest that a reasonable quality surge protecter be used as main boards can be fried by surges. Uninteruptable Power backup for these machines is most likely beyond the scope costwise. If your power connecting is of concern, contact an electrician and correct before installation day.
Computer: For new machines we suggest Window 10. There are fewer problems with up to date operating systems. The specs for what is needed is in the chart below and is fairly reasonable by todays standards. If you decide to get a new computer for your new printer – make sure you turn it on and update Windows before installation day. Windows updates can slow down installs significantly.
VersaWorks 6 Computer Specifications
|
Operating System |
Windows® 10 (32/64 bit), Windows® 8.1 (32/64 bit), Windows® 7 Ultimate/Professional (32/64 bit) |
|
CPU |
Intel Core™ 2 Duo, 2.0 GHz or faster recommended |
|
RAM |
2GB or more recommended |
|
Video card and monitor |
A resolution of 1280 x 1024 or more recommended (must be 1024 vertical) |
|
Free hard disk space |
40 GB or more recommended |
|
Optical drive |
DVD-ROM (files from DVD-ROM can be copied to flash drive) |
|
Other |
Internet connection recommended |
 Network: It is recommended that you have an internet connection for software downloads, updates, and advanced monitoring features. Make sure your internet provider has already set this up before installation.
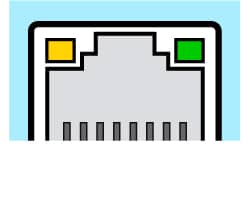
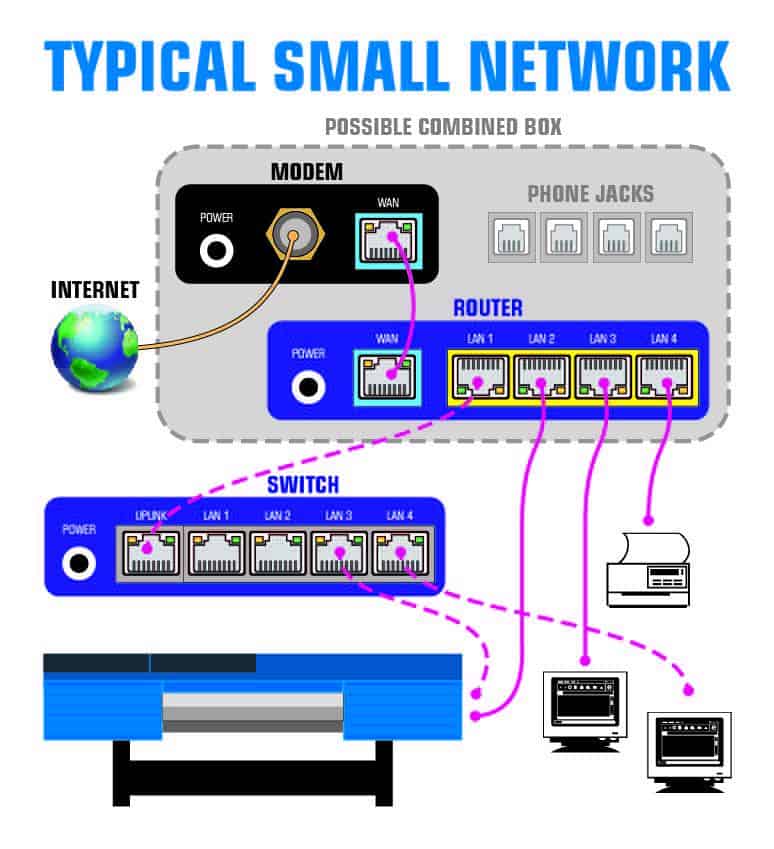
These printers will be connected to your Local Area Network [LAN] with a CAT5 or CAT6 cable (Pictured in Pink – NOT included.) Wireless connections are insufficiant for the amount of data that will be sent to your printer. You will also need an open ETHERNET port for the printer to plug into. Pictured is a typical LAN setup. If a port is not open/available for the new CAT5 cable to the printer, you may need to purchase a switch. This setup is shown with the dotted CAT5 cables pictured.
If there is any confusion about what you currently have or what you may need to be ready for your installation – call your technician before installation day. The more prepared you are at with the above information and setup, the more the installer can train you on the basics and advanced opperation of your new Roland printer.